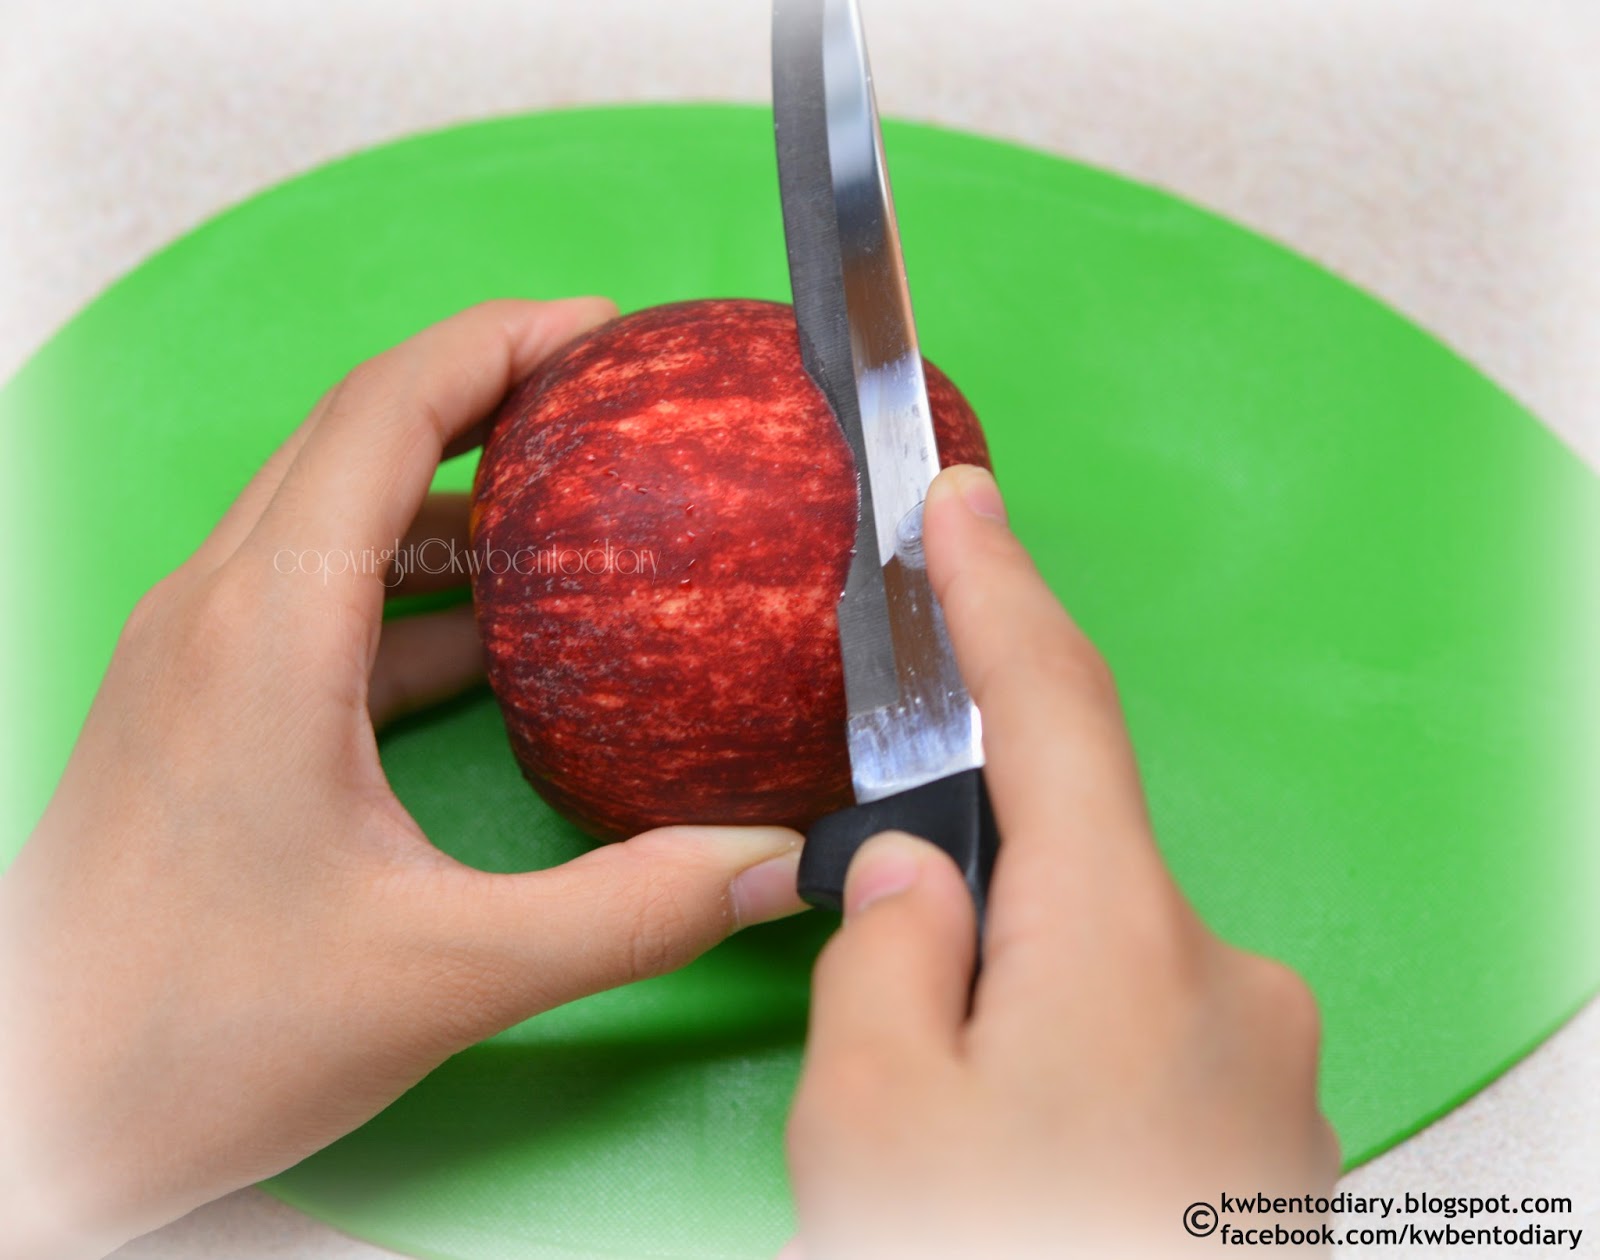
Today's post I'm going to show you how I cut the apple as leaf tutorial. I learned the tutorial from youtube and I'm sure some of you already know the methods. Well, I hope you like it by viewing the step by step pictures below.
Step 1: One red apple & small knife
Step 2: Cut a small line, depending how big of the leaf you prefer.
Step 3: Cut the other side until can push up the small apple as petal.
Step 4: Continue the next line. If you prefer broader then just adjust the cut line gaps.
Step 5: Repeat the same step until can push up the 2nd petals.
Step 6: Keep moving along the lines until how big is the leaf you prefer.
Step 7: Here's the finished apple leaf looked like ^_^
After done cutting the apple leaf, I thought of continue making a Swan Apple carving that I saw from youtube. My first attempt to try out & it didn't turn out well for the swan head as I find it difficult but hope you like it ^_^
Need more practice!!! Hahaha....
Well, hope you enjoy reading my today's tutorial ^_^ Have a nice day!
Showing posts with label Step by step. Show all posts
Showing posts with label Step by step. Show all posts
Thursday, 29 May 2014
Monday, 26 August 2013
Owl Inari Bento Tutorial
Since is my kids school summer holidays and I can have more time taking photos for this "Owl Inari Bento" tutorials. I want to make it simple so that you can enjoy doing it at home :) So let's begin with many photos tutorial!! *Please pardon for my humble photography skilled :p
- Cheese, Nori/seaweed, cooked rice mixed with sushi vinegar (optional), inari skins
- Shape the rice into a triangle using cling wraps or rice moulds if you've :)
- Add inari skin into the rice and wrapped with the cling wrap.
- Next, use cutter to cut out oval shape and circle shape.
- Here is the photos after the cut out :)
- Use puncher to punch out the nori for the owl's feather shapes.
- Freehand scissor cut the nori/seawwed for the eyes and eyebrows for the big owl.
- Add the nori to the cheese and use smaller shape cutter for the inner eyes.
- To bring out the "LOOK" Just add the cheese on top of the nori and follow the shapes.
- Now arrange the eyes to the inari rice balls :)
- Here is the look of the owls after add all the details :) For the mouth I used sweet corn.
- Next following steps will be arranging into the bento box :) I put the owls into silicone cups.
- I add wax paper into the bento box. You may substitute with lettuce :)
- Here is the photos after adding into the bento box :)
- For another bento box as I've used two tier bento box :)
- Arrange the 3 pieces of pan-fried chicken wrap with seaweed or any dishes you like for this section. You can skip this part as I just showed you how I arrange my dishes into the box!
- Now I add crab rolls into the silicone food cups and arrange tamagoyaki on top with pasley and edamame.
- Add broccoli next to sweet corn and I carve the apple as leaf.
- Ta-da....all done ^_^
Labels:
Bento,
Birds,
Owl,
Step by step
Monday, 22 July 2013
Sleepy Piggy Sushi Tutorial
Sleepy Piggy Sushi Tutorial
Ingredients
- One fish sausage
- Seaweed/nori sheet
- Cooked rice or sushi rice
- Pink furikake or ketchup
Step 1: Wrap the fish sausage with nori
Step 2: Made two semi circle for piggy eyes and triangles for ears
Step 3: Filled the pink rice on top and spread evenly then put the fish sausage middle
Step 4: Arrange the sleepy eyes next to fish sausage and make sure filled up the holes and cover all before roll.
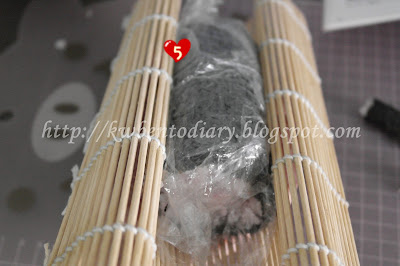
Step 5: Time to rolled ^_^
Step 6: Remember the two triangle for ears? Just cut out and stick them together with piggy after cut out the sushi. Sorry for one missing picture for the cut out triangle steps :p
Step 7: Now use the puncher to punch out the nori for the nose. Or you can freely cut out if don't have any puncher :)
Step 8: After punch out the nori can decorate the piggy sushi.
Ta-daa.....here is the finishing touched with some decoration! Sleepy piggy sushi....time to wake up!!! Sunny up egg bright and shine waking the piggy :p Haha....
Well, hope you will like this tutorial ^_^ Cheers!
Step 8: After punch out the nori can decorate the piggy sushi.
Ta-daa.....here is the finishing touched with some decoration! Sleepy piggy sushi....time to wake up!!! Sunny up egg bright and shine waking the piggy :p Haha....
 |
| ~Sleepy Piggy Sushi~ |
What I've used:
Labels:
Foodart,
Lunch,
Piggy,
Step by step,
Sushi
Sunday, 21 July 2013
Rilakkuma Bento Tutorial
Rilakkuma Bento Tutorial
Hello everyone, I'm going to post my Rilakkuma Bento tutorial pictures. Very simple steps if you want to make Rilakkuma ^_^
- I used Rilakkuma Bento box
- Filled in the rice (dark sweet sauce mixed with rice) or fried rice if you preferred.
- Put some rice into the cling wrap for Rilakkuma nose/mouth
- Slightly pressed the brown rice in the middle then put the white rice on top.
- For Rilakkuma ears, take small amount of brown sweet rice made a ball and pressed flat. Made another white ball and combine on top of the brown rice.
- Made two balls for Rilakkuma ears.
- Freehand scissor cut out nori/seaweed for the eyes, nose and mouth.
- Add Rilakkuma face features.
- Filled in the side dishes for another container.
So here is the finishing touch and ready for photo taking ^_^
 |
| http://kwbentodiary.blogspot.com/2013/07/bentojuly20rilakkuma-bento.html |
Labels:
Bento,
Rilakkuma,
Step by step
Subscribe to:
Posts (Atom)


